
Want the secondhand scoop?


Pricing tips from a seller: Get Fox & Phoenix Vintage's advice on worth & comps
Pricing is both a science and art — but it's also a lot of trial and error. Here's how one seller does market research and stickering to find a price point that works
I spend a lot of time thinking about pricing and talking about pricing. I’m constantly watching prices in the market and how they shift over time, and I’m always open to having conversations with other sellers when they’re unsure of how to price something and need a second opinion.
So it’s my pleasure to be sharing a series of tips here to members of The Vintage Seeker!
To kick this off, I want to discuss factors that should be considered when pricing items:
1. What is the item worth?
This is of course the most obvious factor, but make sure to research what the same or similar items are selling for. To find out where to look, scroll down to the relevant section below.
2. How much time and effort did you spend on sourcing the item?
For those who drive, think about the gas money you spent getting to the sourcing locations you visit. Think about the time you spent digging through bins or walking down aisles looking for the best items to present to your customers. This is work you’re saving someone else from doing, and time is money.
3. Did you repair/refurbish/clean the item?
How much time did you invest on repairs and/or cleaning? What did it cost you in materials/supplies?
You can add a lot of value to an item when you put in the work to fix it up.
As an example, I once purchased a wicker peacock chair at a fairly low price because it was missing a part of its decorative trim and was fraying in several areas. I repaired these parts and was able to sell the chair for its typical market value and made a nice profit off it.
4. What are your fees?
Considering any listing fees you’re paying (e.g. Etsy) or advertising costs (e.g. boosting a post on Instagram or Facebook). Do you offer shipping? Consider the cost of materials used to package your items.
5. Leave room for potential markdowns.
Unfortunately, not all items are going to sell as quickly as we want them to, and if we want to continue bringing new items into our shops, we periodically need to mark older items down from the initial price we set.
So ask yourself: what is the lowest price I can accept in order to recoup my cost? Aim to set your initial asking price higher than this to afford you the ability of putting the item on sale at a later date.
6. What did you pay for the item?
Maintain a detailed inventory list to keep track. (I use Google Sheets to manage my inventory.) Reference this when pricing your items to ensure you’re recouping your cost and making a profit.
With that said, you don’t want to over-price beyond fair market value just to make a profit — if you purchased an item for $20 and it’s only worth about the same, none of the other factors are going to hold much weight.
So combine this tip with tip no. 1 about knowing the item’s worth to ensure you’re buying at the right price. Do some research in advance. Not sure where to start? Kep reading.
Where to look for pricing comps
Online
A Google search is the first and simplest thing I do. I describe my item with as much detail as possible and click the “shopping” tab. This gives me comparables from several different sites, and I can scroll through to look at similar items to mine, how they’re priced, and where they’re most commonly listed. (If your search doesn’t yield any returns using description alone, try using Google Lens and do an image search.)
Next, I’ll look at the most popular resale sites depending on the item I’m researching, including, but certainly not limited to, Etsy, eBay, Poshmark, and Facebook Marketplace. (Yes, even Facebook Marketplace! FBMP is used a lot by resellers so you can sometimes get a good idea of market values there.)
When looking at resale sites, keep in mind that just because an item is listed for x amount, that doesn’t necessarily mean it’s worth that amount. Look at as many listings for the same or similar item to see what the average price is. Note that condition will play a factor into pricing. Another handy tip is to look at what the item actually sold for.
I strongly recommend NOT referencing high end resale sites such as 1stDibs or Chairish. Sites like this have grossly inflated pricing. Unless you have an extremely rare item, or high-value antiques, it’s not likely going to be a useful source for comparable pricing.
Continued below
Find markets and events near you
View our event calendar
Continued from above
Retail stores
Keep an eye on mass-produced items that have taken inspiration from popular vintage items.
If someone can buy it brand new, they’re less likely to spend a premium on vintage. There are many who will prefer to buy secondhand, who prefer the original version, who want to restore and keep old items out of landfill, but it’s still something to keep in mind when pricing.
Social media
As I’m scrolling through Instagram, anytime I see another seller post an item that’s similar to something I currently have or is an item I would likely source if I could find it in the future, I take a screenshot of the item and its price, and then I save it to a special folder in my phone.
I do this because most resellers, myself included, remove the price from the description after an item has sold. Since I follow other sellers in my market, I like to be able to reference what my peers listed similar items at.
Reviewing prices
If I’ve had an item listed for a while that isn’t selling, I will re-assess it, and do continuous research to see if market value has changed, and determine if I need to re-price it.
Items I know I want to sell in future are always on my radar and I'm always looking at what the going asking prices are when I see them, so that I'm armed with that pricing knowledge when I eventually find the item for my shop.
Ultimately, it helps to keep an eye on items you tend to source often, to watch the changing trends in prices, whether you’re looking online or in person. And always keep in mind the market you’re selling in and research local pricing as much as possible.
How do you research your items when pricing them? What resources do you use? I spend a lot of time on researching prices, so I'm curious to hear the methods/sources that other sellers use. Let me know in the comments!
Physical stickering for prices
If you'll be selling your vintage goods in a physical setting, whether that’s at a booth, a market, or some other in-person event, you may be wondering not just WHAT price to put on your item, but HOW to physically place it on your item. Here are the ways I apply price tags to my goods.
Home decor & furniture
The antique mall I sell at provides price stickers with my booth number and a few pre-printed field headings, so all I have to do is write the price, item description and optional inventory number.
My other booth doesn’t provide stickers, nor do they track sales by item description/inventory number, so I use small blank stickers from the dollar store and write the price and my unique booth code.
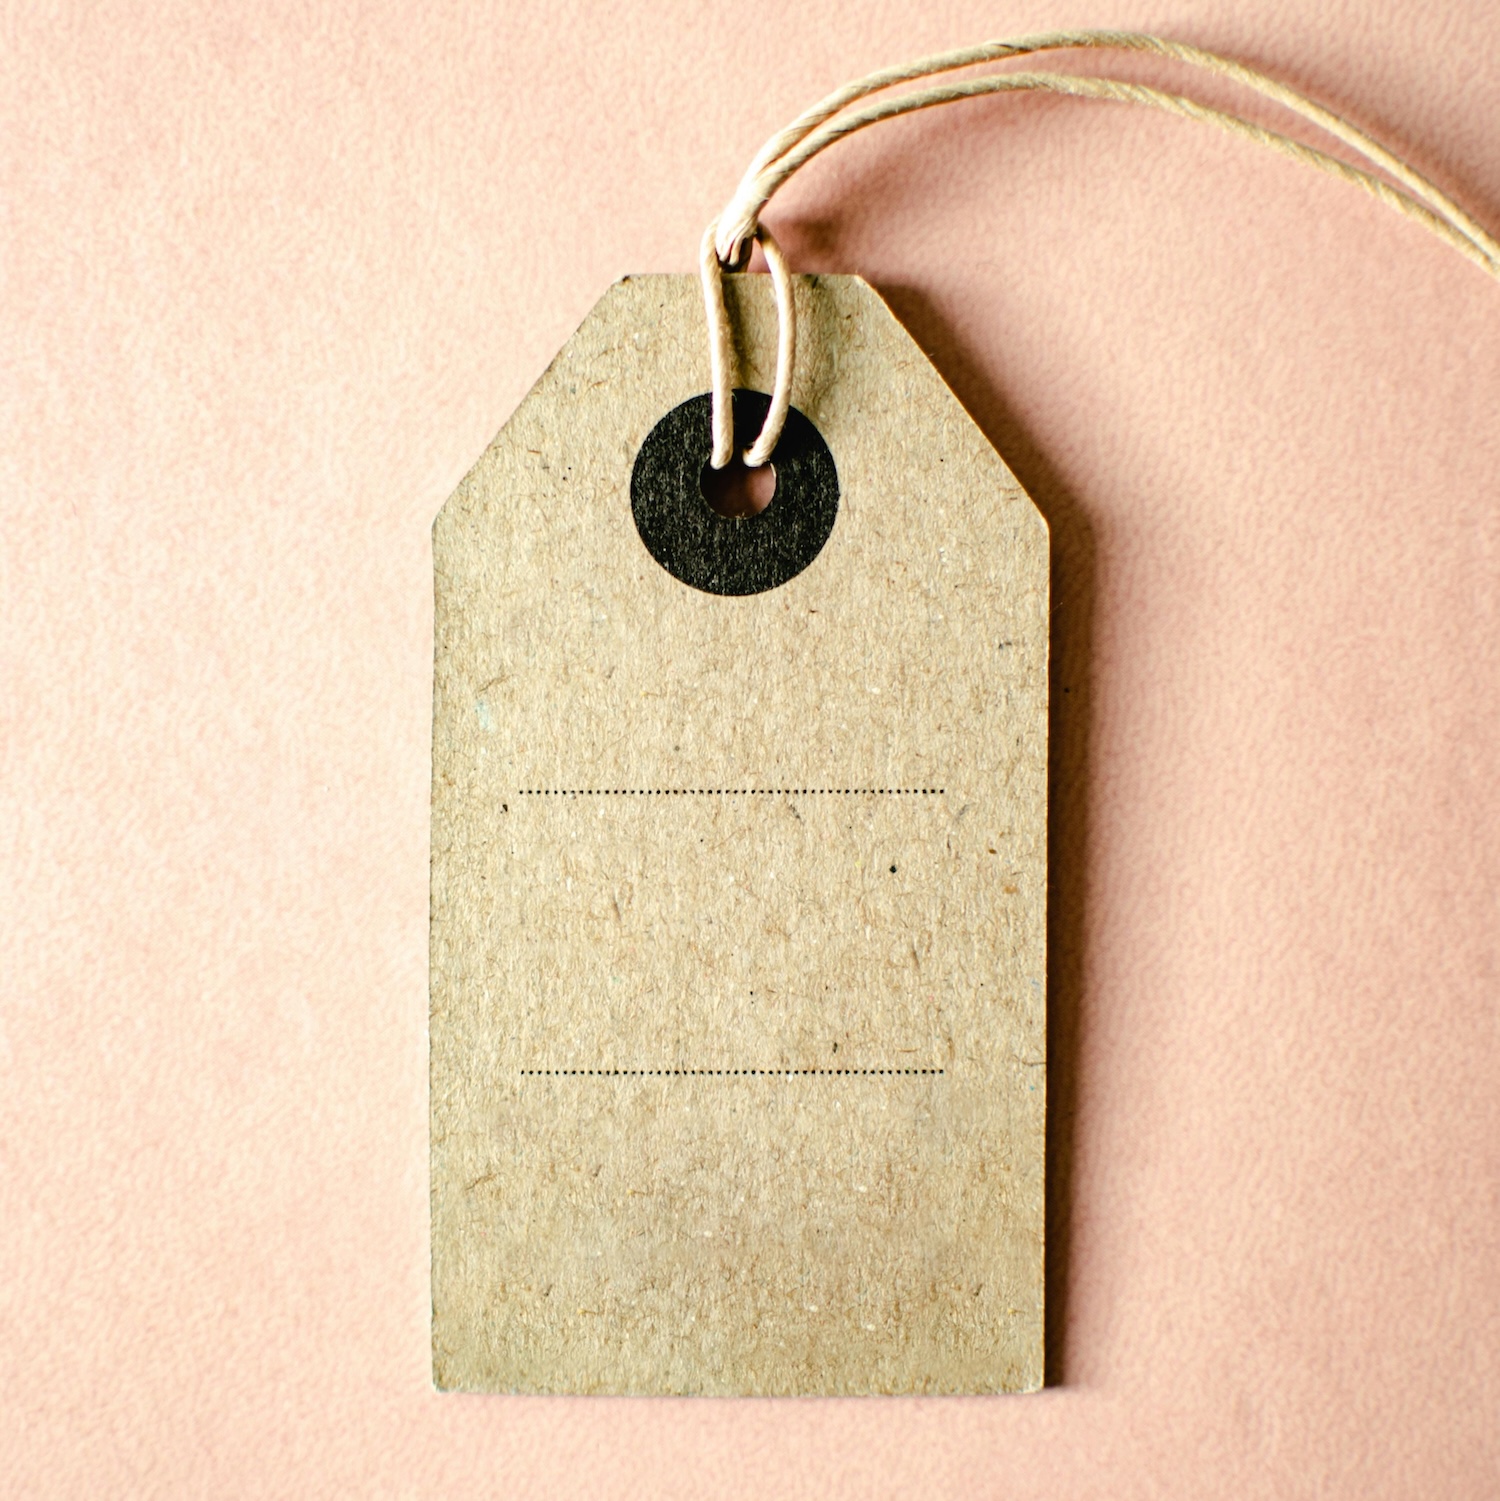
Regardless of location, the way I attach the sticker is the same: if the item allows me to attach a hangtag, I’ll apply the price sticker to a paper tag that I’ve stamped on the other side with my business name and Instagram handle, then tie it to the item using a piece of twine.
If the item doesn’t allow me to attach a hangtag, for example glassware without a handle, a solid stone bookend, etc., I will affix my sticker to the bottom of the item.
Tip: Placing the sticker on the bottom of an item encourages the customer to pick it up to look for the price, forcing them to physically engage with the item, potentially making it more appealing.
If an item has a lid, is really heavy, or has important info on the bottom that I don’t want to cover up, I’ll sticker on the outside of the item near the bottom, or, if it’s a drinking glass, on the inside near the rim.
Sometimes I’ll drop a hangtag directly into glassware, but I still include a sticker just in case the hangtag gets lost, since it's not attached in this instance.
Clothing & accessories
For clothing items, I use the same hangtag method as described above, but I’ll attach the twine to the item using a safety pin.
Tip: I opt for consistency in placement on the garment as much as possible, so that when someone is browsing my rack of clothing they can quickly and easily find the price without having to search all over.
My preference is to attach my price label to the clothing label at the back of the neck. Skirts and pants, I’ll attach the sticker at the waistband. I’ve seen other sellers attach their price labels to the cuff of the sleeve, and this works great too. Wherever the sticker is placed, though, I believe that consistency is key.
For handbags, I’ll typically tie the hangtag around the strap so it falls at the top and side of the handbag, or, if there’s a zipper, I’ll string the twine through the zipper loop and tie it on there. If there’s no strap, I’ll sticker the outside of the bag, but also include a paper tag on the inside in case the sticker becomes detached.
Markets & other in-person events
I keep price stickering simple when it comes to markets. A small blank sticker with the price written on it.
I know it’s a strategy for some to not price anything, or just not price everything, as this encourages communication and keeps the option open to price dynamically throughout the day and offer deals.
But from the prospective of being a customer myself, I hate having to ask the price of items, so that’s why I choose to have all my items labeled with a price at markets. I like to offer deals though! So I’ll use small placards to indicate, for example, "$10 each or 3 for $25."
I’m so curious to know how others physically price their items! Do you apply strategic thought, or just slap a price on any which way? Do you maintain a price label aesthetic, or do you not give price stickering a second thought?
Do you have any additional factors you consider when pricing your items?
What do you think about the tips I shared — agree or disagree? Share in the comments!
Thank you for valuing our work!


Want the secondhand scoop?
Support our work to see this page.
You’ve got a good eye, but this gem is only available for members. Register for a plan or upgrade your current one to peek behind this vintage curtain, or log in below.